How to Hang Peel & Stick Wallpaper
Install Peel & Stick FABRIC and Peel & Stick CANVAS Wallpaper
Smooth Walls? Textured walls? Do not risk your wallpaper falling on the floor. Follow our recommendations to prevent the biggest disaster when installing peel and stick media, PREVENT ADHESIVE FAILURE!
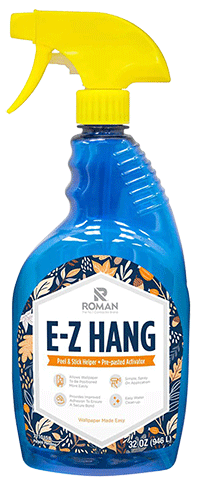
PEEL & STICK HELPER + PRE-PASTED ACTIVATOR:
E-Z Hang makes hanging peel and stick wallpaper easier. The\spray on formula provides ‘slip’ to help float wallpaper into position and match patterns without needing to re-stick the paper multiple times. E-Z Hang improves adhesion for a long-lasting installation and cleans up easily with water.

KEY FEATURES:
- Allows peel and stick wallpaper to be positioned more easily. E-Z Hang provides ‘slip’ allowing wallpaper to be floated into position without the need to peel and re-stick wallpaper.
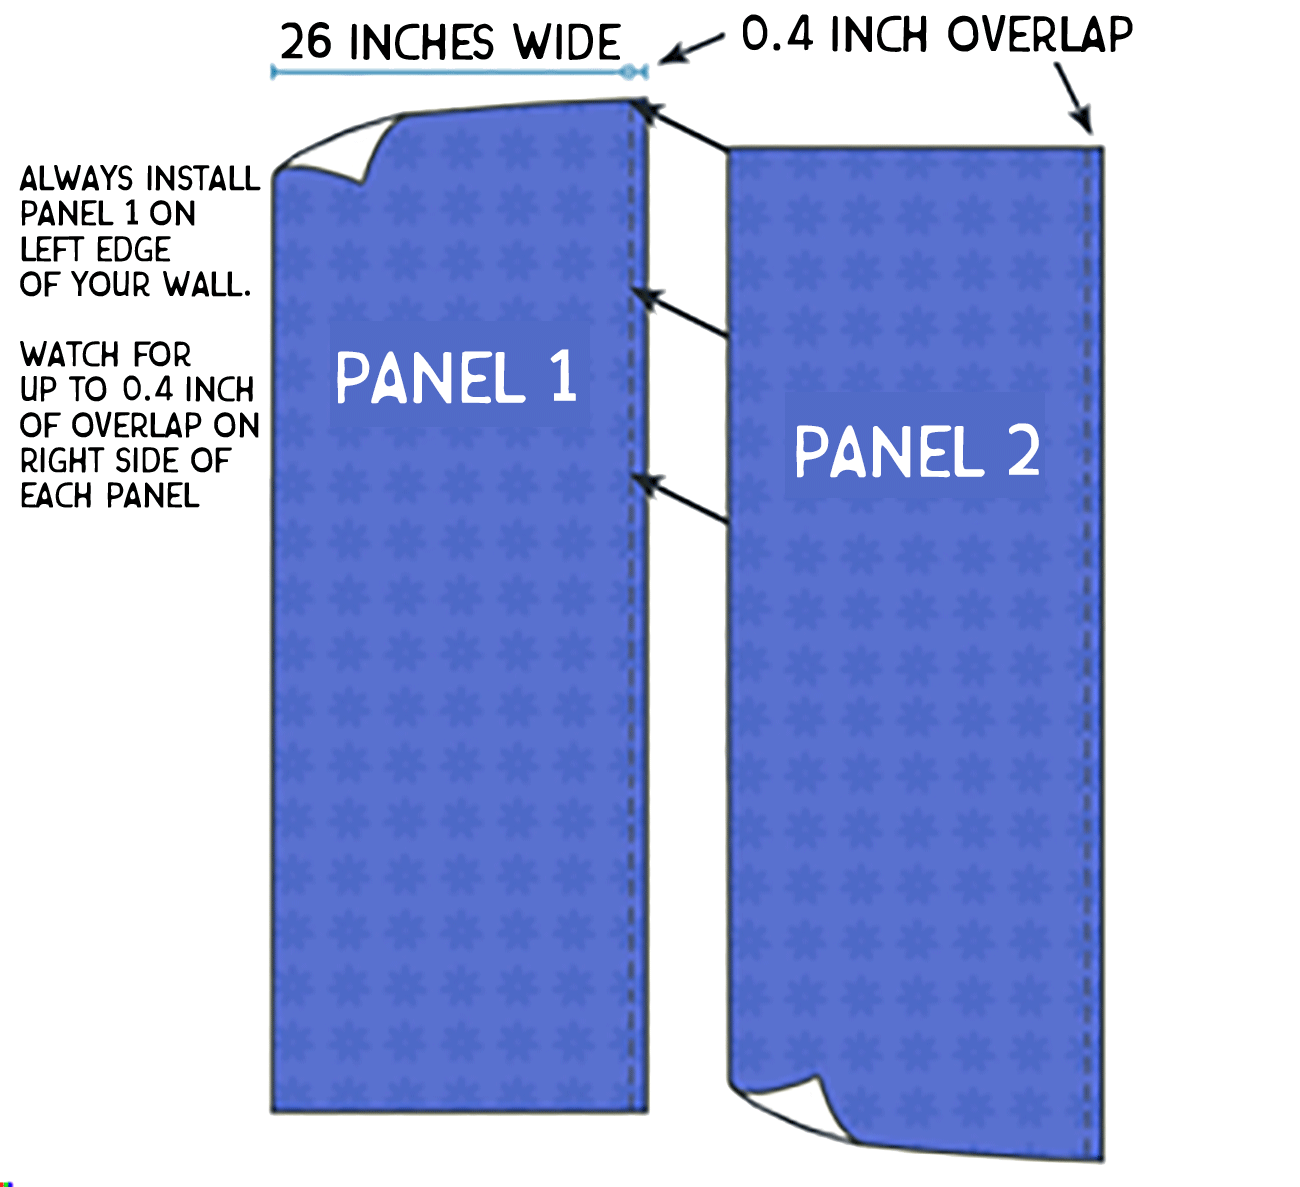
- Makes matching patterns simple, just slide wallpaper into place (make sure you overlap your panels at least ¼” to make the pattern match)
- Provides improved adhesion for a long lasting, durable bond.
- Simple spray on application, no need to struggle with a paint brush or roller.
- Clean up easily with water.
- Covers approximately 60 square feet per bottle, enough to hang 5 to 6 standard panels of peel & stick wallpaper (fabric & canvas)
- Zero VOC (as calculated per EPA Method 24)
- USDA Certified BioBased Product (99
STRONGLY RECOMMENDED
We have tested this product for Peel and Stick Wallpaper installation, and we are happy to report is a game changer! It makes it easier to line up the pattern panel to panel. Find it at Home Depot or Amazon. Use 1 bottle per 5 or 6 wallpaper panels. It facilitates installation and prevents adhesive failure.
EZ Hang Peel & Stick Helper Adhesive Activator by ROMAN
Watch the Video on You tube!
|
STEP 1: CLEAN your wall
Clean the surface with a warm mix of alcohol and water (1 ratio of water/3 ratios of alcohol) using as many cloth as needed. Discard the cloth once it’s been through a portion of your wall, you do not want to spread the chemicals, the idea is to remove them. Allow the walls to dry for at least 15 minutes after this cleaning process. If the wall is freshly painted, it’s important to make sure that the paint has been cured & outgassed completely, this can take at least 6 weeks depending on the type of paint. The day before installation
STEP 2: PLAN & SET UP
Plan your design first. Or don’t. Each panel of wallpaper would have a number in the back, however, if we processed your wallpaper on “Margarita-Fridays” then the numbers might be wrong, so please double check and make sure the panels are in the correct order before applying to the wall. The total WIDTH of the wallpaper you received, when adding up all the panels, should be more than you need to cover your wall. We recommend starting the first panel with an overhang to the ceiling by a 1/2” to 1” in case your ceiling/walls are not squared, then trim the excess at the end of installation. STEP 3: INSTALL the first PANEL START AT THE LEFT EDGE OF YOUR WALL. In the back of your panels, you will find the order of each panel by numbers. Start with the upper left corner of the room, hang them from LEFT to RIGHT to ensure a smooth repeat of the design across the wall. |
STEP 5: Trim it

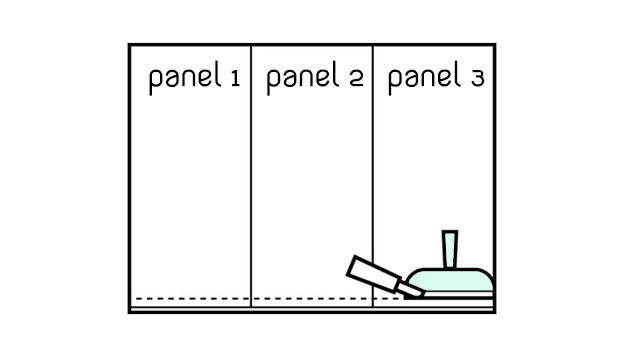
For the finishing part you are going to remove/trim the excess material at the top, bottom, and sides. Use a sharp utility knife (box cutter with a new blade required every few cuts) to trim any excess at the edges of the wall and any excess on the right edge of your installation area. Change the blade often! If overlap is noticeable, you can remove it too! (Message me tips on how to remove the overlap safely)
When to choose Peel & Stick
- Renter-friendly. If you live in a rental and your landlord doesn’t want you to put up regular wallpaper, Peel & Stick is the perfect solution.
- Temporary installations. If the installation is only for a limited time, like for an event or in a kids’ room where you’d like to change the motif more often, Peel & Stick is the way to go.
- Small areas. If you have a small single wall or a feature wall, Peel & Stick is the perfect option.
When not to choose Peel & Stick
- Textured walls. If you have textured walls and don’t intend to use the EZ Hang Spray recommended, we recommend using non-woven instead. (Prepasted or Unpasted)
- Permanent installation. If it’s for a permanent installation or in a commercial setting with a somewhat higher degree of wear and tear, we recommend choosing non-woven. (Prepasted or Unpasted)
- Varying humidity. Peel & Stick is not suitable in rooms with significant temperature changes or varying humidity, such as bathrooms with showers.
-


