
How to Hang Prepasted Wallpaper
How to Hang EASY-HANG Prepasted Wallpaper and Wall Murals
Our EASY-HANG Prepasted Wallpaper is a matte, PVC-free nonwoven wallpaper with water-activated adhesive already applied to the back. No separate wallpaper paste is required. Simply spray the back of each panel with water, allow the adhesive to activate, and position the panel on the wall.
The wallpaper can be repositioned for approximately 10 minutes during installation and is designed to be removable when installed on a properly prepared, fully cured painted wall. It is approximately 96% opaque; however, dark wall colors may show through very light wallpaper designs. For the best color and seam appearance, we recommend installing light-colored wallpaper over a white or very light-colored wall.
Important installation facts
- Install the numbered panels from left to right.
- Activate the adhesive by spraying water on the back of each panel.
- Panels include an approximately 0.4-inch overlap.
- Do not trim away the overlap before hanging the panels.
- Do not install the panels edge-to-edge as a butt seam.
- Protect electrical outlets and switches before spraying or handling wet wallpaper.
Before You Begin
Carefully inspect all wallpaper panels before beginning installation. Confirm that you received the correct design, material, panel quantity and panel height. Arrange the panels in numerical order and check that the pattern flows correctly from one panel to the next. Do not install any panel that appears damaged, incorrectly printed or out of sequence. Contact us before installation if you notice a problem.
For best results, the installation surface should be clean, dry, properly primed, fully cured and as smooth as possible. Repair holes, cracks, loose paint and noticeable wall imperfections before installation. Although this nonwoven wallpaper may perform successfully over some lightly textured walls, the wall texture may remain visible through the finished wallpaper. We strongly recommend ordering a sample and testing it on the intended surface before purchasing a full wall.
Newly painted walls must cure for a minimum of six weeks before wallpaper installation. Some low-VOC and zero-VOC paints may require additional curing time. Wallpaper installed over paint that has not fully cured may fail to adhere properly or may lift paint during removal.
This prepasted material is not recommended for bathrooms, areas with persistent humidity or walls exposed to direct water. For humid rooms, select an appropriate unpasted wallpaper material and use the recommended wallcovering adhesive.
Tools You May Need
- Clean spray bottle filled with water
- Wallpaper smoothing brush or clean damp sponge
- Level or plumb line
- Pencil
- Measuring tape
- Sharp utility knife with a new blade
- Metal straightedge or trim guide
- Clean towels or cloths
- Painter’s tape and protective coverings for electrical outlets
Electrical safety: Because water is used to activate the adhesive, turn off electricity to the installation area whenever possible. Remove outlet and switch covers, and carefully protect every electrical opening from water. Never spray water directly toward an electrical outlet, switch or exposed wiring.
Step 1: Clean and Prepare the Wall
- Remove dust, dirt, grease and residue from the wall.
- Repair holes, cracks, peeling paint and prominent surface imperfections.
- Make sure the wall is completely dry before beginning.
- Remove outlet and switch covers after turning off power to the installation area.
- Protect floors, baseboards, electrical openings and nearby furnishings from water.
During installation, the wet wallpaper may temporarily feel softer, appear slightly translucent or reveal more of the wall texture underneath. This is normal for water-activated nonwoven wallpaper. As the adhesive sets and the wallpaper dries, the material will tighten and settle into its finished appearance.
Step 2: Arrange the Wallpaper Panels
- Unroll and separate the wallpaper panels on a clean, dry surface.
- Locate the panel number and directional marking on the back of each panel.
- Arrange all panels in numerical order from left to right.
- Place the panels beside one another and verify that the pattern aligns correctly before applying water.
- Confirm that the combined width of the panels is sufficient to cover the installation area.
Begin with Panel 1 at the upper-left side of the installation area unless your order includes different instructions. Allow approximately 1/2 inch of excess material at the ceiling, floor and outside edges when possible. This provides a trimming allowance for walls, ceilings and floors that may not be perfectly square.
Step 3: Activate the Prepasted Adhesive
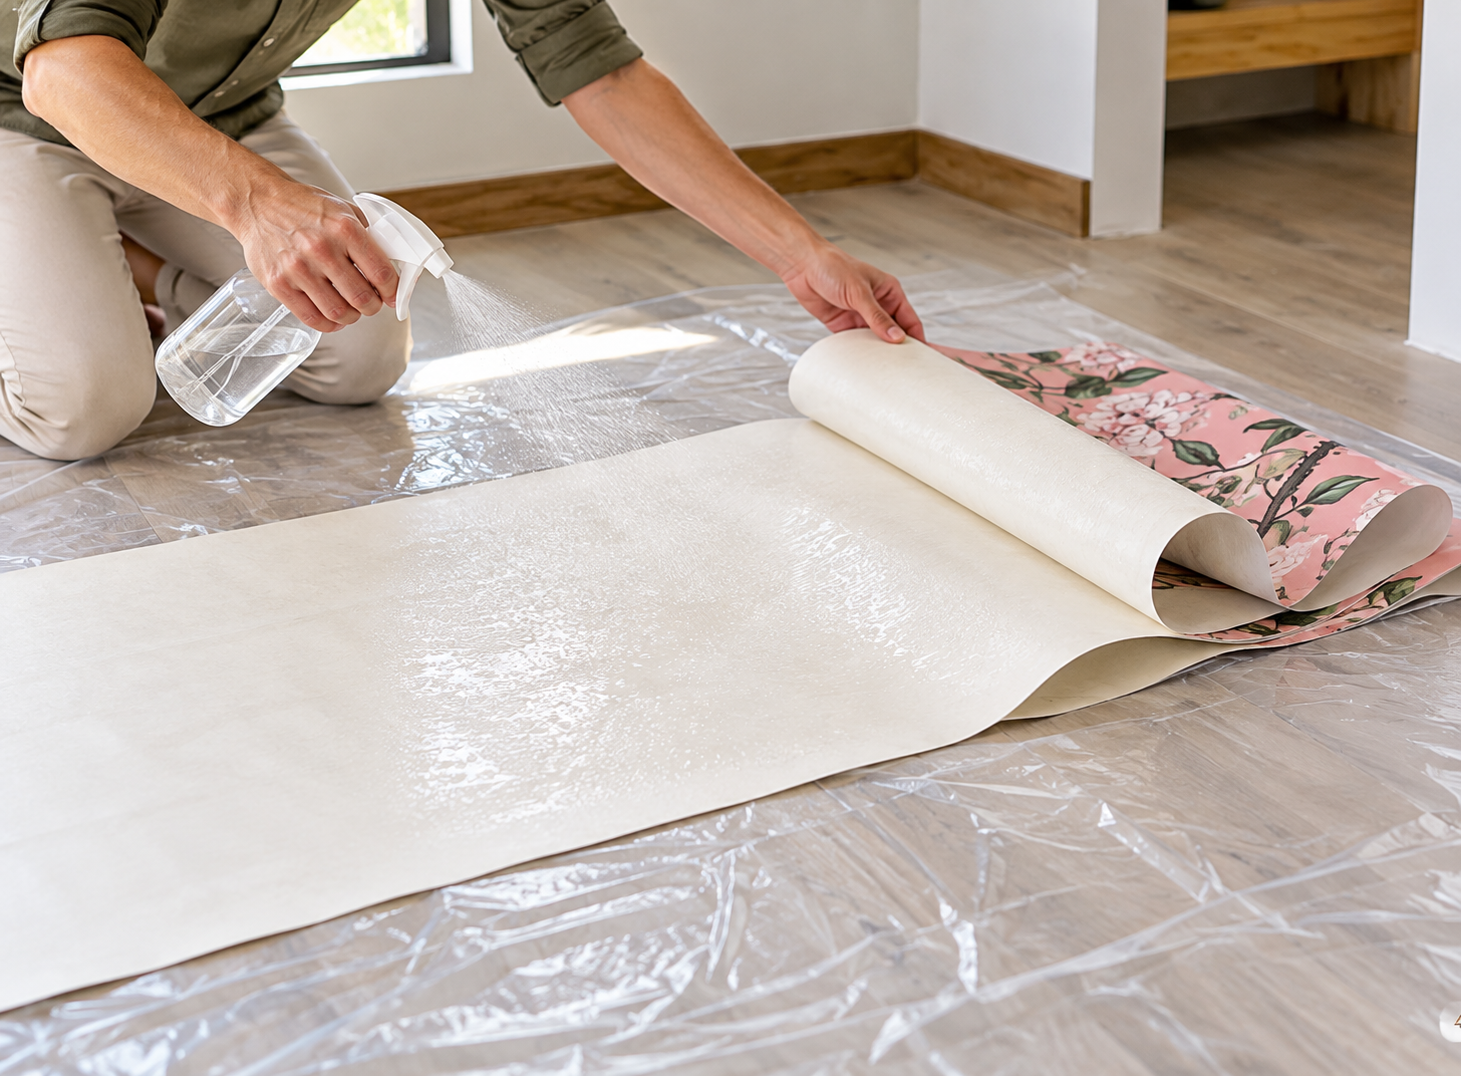
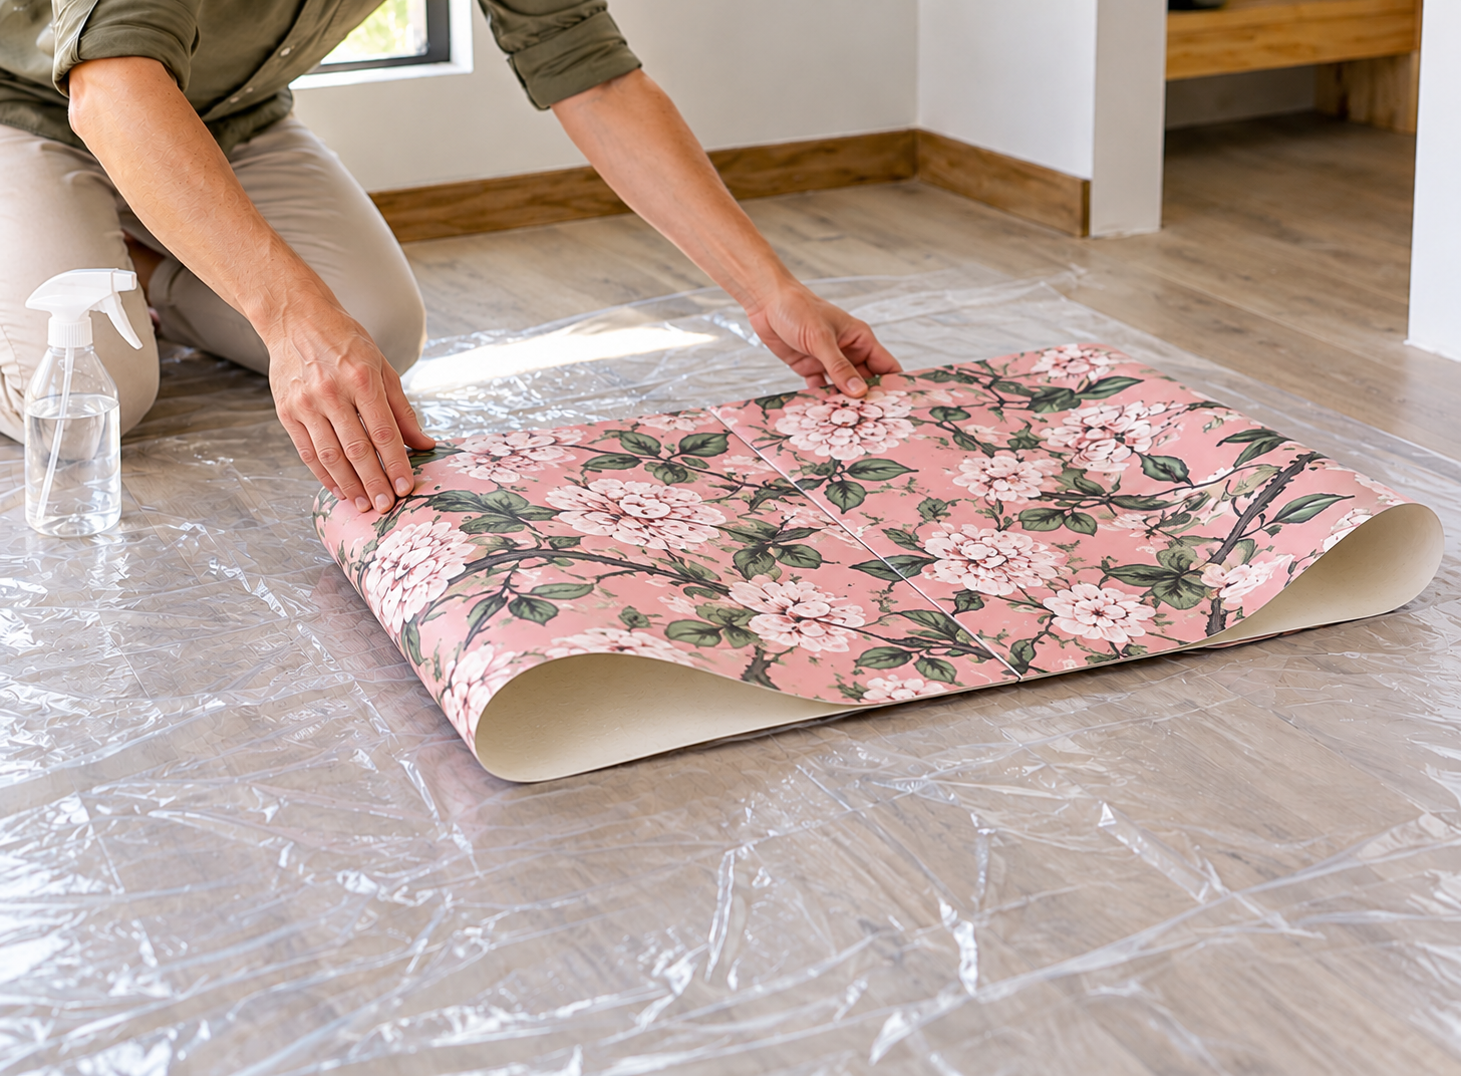
- Place Panel 1 face down on a clean, protected surface.
- Using a clean spray bottle, evenly spray the entire back of the panel with water.
- Make sure the center and all edges receive sufficient water.
- Wait a few minutes for the water-activated adhesive to develop a gel-like appearance.
- Do not allow the adhesive to dry before placing the panel on the wall.
Activate and install one panel at a time. Spraying every panel at once may allow the adhesive to dry before the later panels can be positioned.
Step 4: Install the First Panel
- Use a level or plumb line to create a straight vertical guide for the first panel. Do not assume the corner of the wall is perfectly straight.
- Position Panel 1 at the upper-left side of the installation area.
- Allow approximately 1/2 inch of wallpaper to extend above the ceiling line and enough material at the bottom to cover the entire wall height.
- Align the panel with your vertical guide.
- While the adhesive remains wet, gently slide the panel into its correct position.
- Working from the center toward the outside edges, use a wallpaper smoothing brush or clean sponge to remove excess water and air pockets.
- Avoid aggressive pressure that could stretch, crease or damage the wet wallpaper.
You have approximately 10 minutes to reposition the panel while the adhesive is wet. Once the adhesive begins to set, avoid repeatedly lifting or moving the panel.
Step 5: Install the Remaining Panels
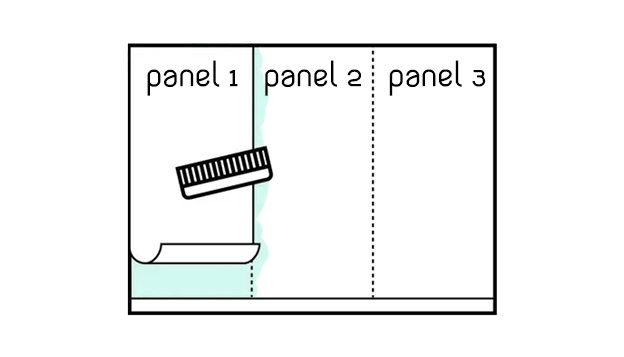
- Place Panel 2 face down and activate the adhesive by spraying the back evenly with water.
- Position Panel 2 to the right of Panel 1.
- Place the left edge of Panel 2 over the right edge of Panel 1, maintaining the supplied approximately 0.4-inch overlap.
- Visually align the printed design before smoothing the panel.
- Work from the center outward to remove trapped air and excess water.
- Repeat the process with each numbered panel, continuing from left to right.
Do not remove the overlap before installation.
The approximately 0.4-inch overlap is included to preserve the alignment of the printed pattern and help prevent gaps between panels. Do not simply place the two panel edges directly beside one another as a butt seam. Doing so may cause the design to align incorrectly or allow a visible gap to develop.
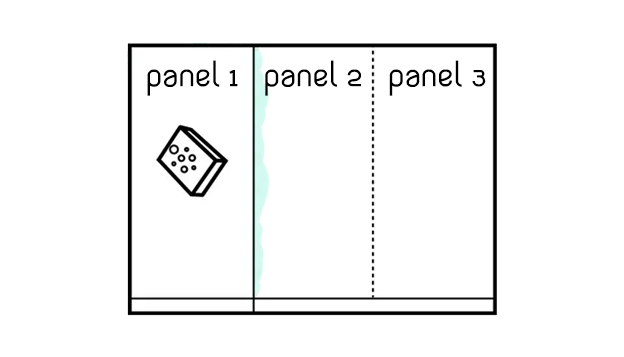
The overlap is generally subtle when the wallpaper and underlying wall are similar in color. With a very light wallpaper installed over a dark wall, the wall color or overlapping seam may be more noticeable. Installing light wallpaper over a white or very light-colored wall provides the best result.
Step 6: Smooth, Trim and Dry
- Inspect every panel for air pockets, excess water and loose edges.
- Gently smooth the wallpaper from the center toward the edges.
- Use a clean sponge or cloth to remove water from the wallpaper surface, adjoining panels, baseboards and trim.
- Use a sharp utility knife and metal straightedge to trim excess material at the ceiling, floor and outside edges.
- Replace the utility knife blade frequently to prevent tearing the wet wallpaper.
- Allow the wallpaper to dry naturally at room temperature with gentle ventilation.
- Avoid excessive heat, cold, direct airflow and sudden temperature changes while the wallpaper dries.
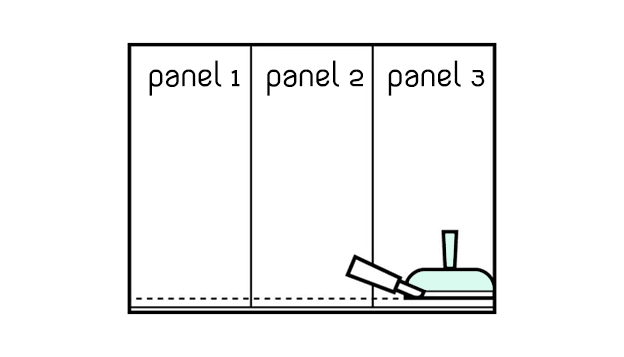
Do not judge the wallpaper’s final opacity or surface appearance while it is still wet. Allow the wallpaper and adhesive to dry completely before evaluating the finished installation.
Removing Prepasted Wallpaper
When you are ready to remove the wallpaper, generously spray the surface of one panel with water and allow it to absorb for approximately five minutes. Begin at a corner and slowly peel the panel away from the wall. Apply additional water if the material resists removal. Continue one panel at a time, then wipe the wall with a clean damp cloth to remove any remaining adhesive residue.
Removal results depend on the condition of the wall, the type and age of the paint, surface preparation and whether the paint was fully cured before installation. Work slowly to reduce the possibility of damaging the painted surface.
Questions before installation? Contact American Decals before hanging the wallpaper if you are uncertain about the panel order, wall condition, pattern alignment or installation surface. Installation should not begin until all panels and the intended wall have been inspected.